Adding RX-7 Wing to Miata.
Inspiration
After watching Fast and Furious: Tokyo Drift when I was a kid, the RX-7 became my dream car. Everything from the curves, uniqueness of the rotary engine, and nostalgia is perfect in my eyes. The whole original reason I got the Miata NB is because it reminded me of a poor man's RX-7!
With the constant urge to always upgrade my cars, I decided to start this "MX7" look with the wing.
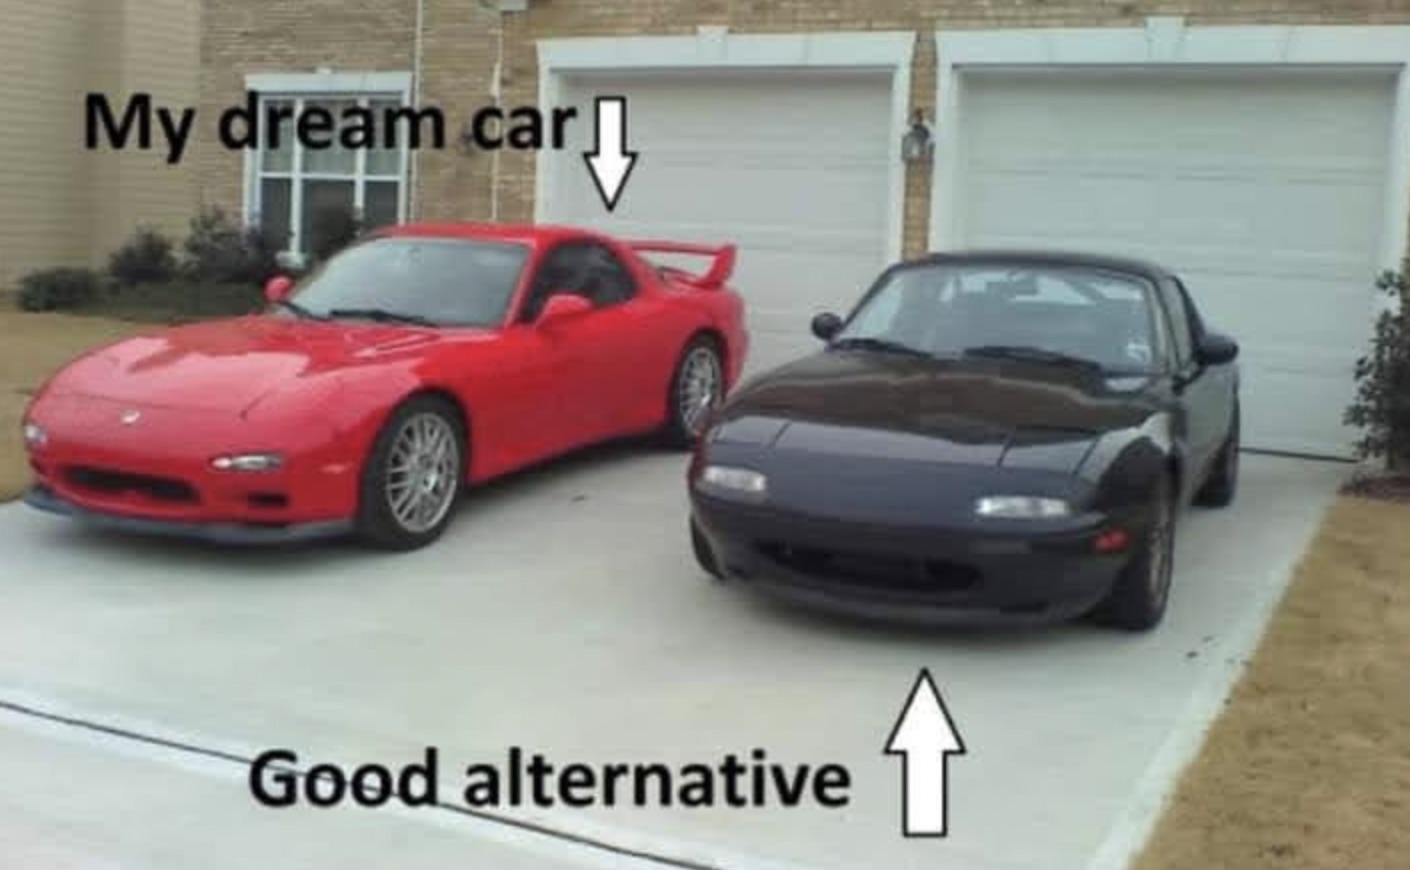 My dream car next to the good alternative
Choosing the Right Wing
I was looking at all sorts of RX-7 wings, from used Spirit R wings on eBay to aftermarket wings. After researching my options, I ended up getting a fiberglass wing from Carbon Miata. The main reason I stuck with Carbon Miata is because it was the most affordable and I wouldn't feel as bad messing this up.
Since Carbon Miata is based in China, shipping took a few months. It finally arrived in a giant wooden crate waiting to be installed.
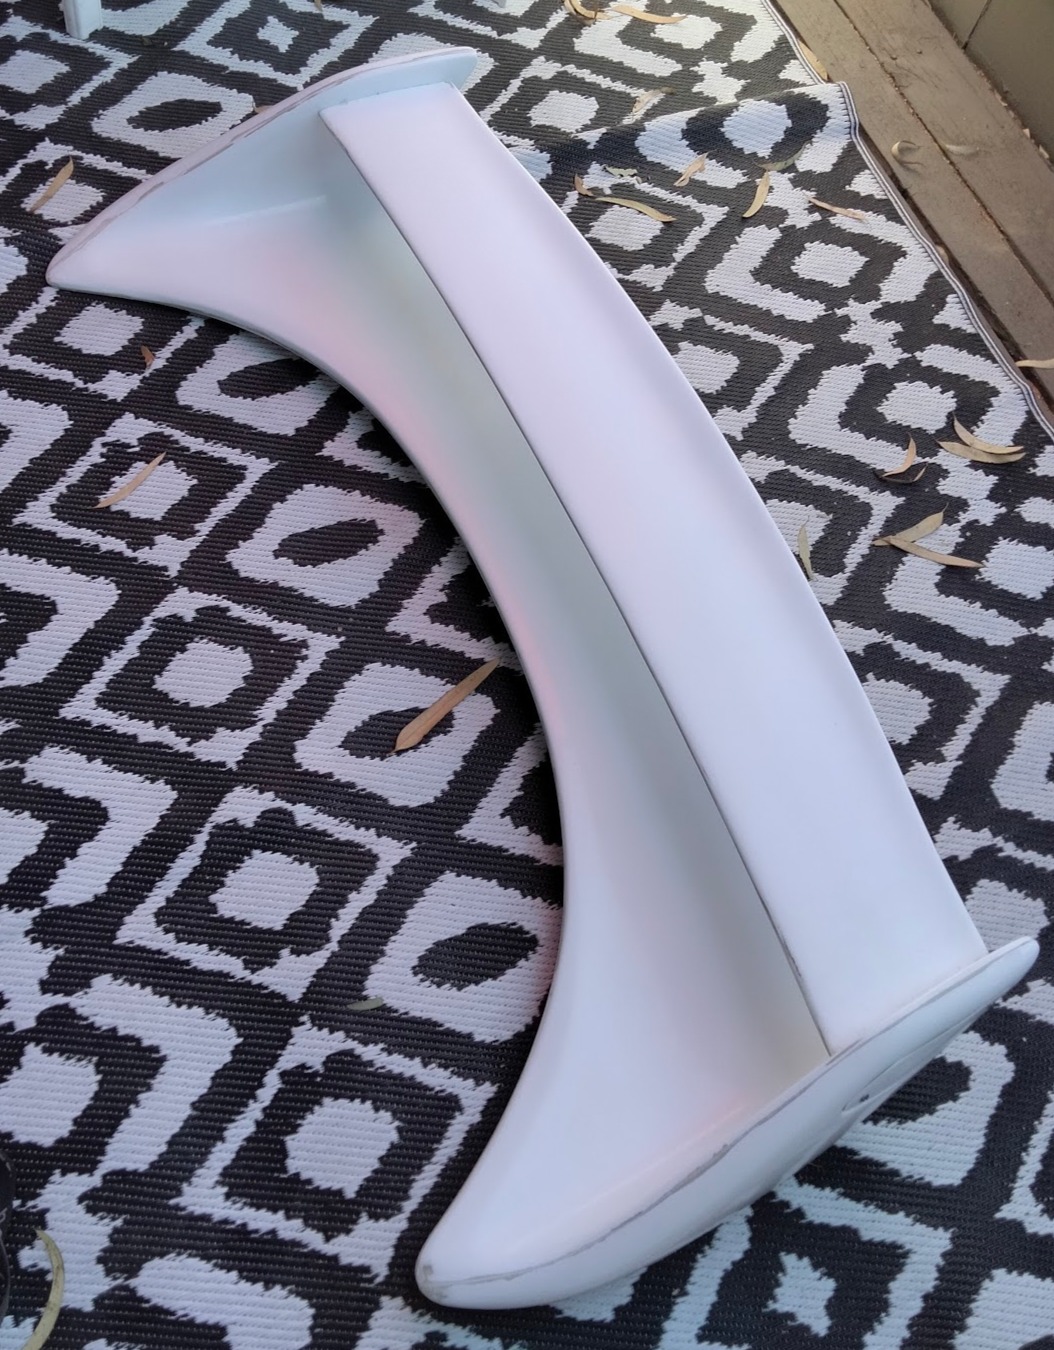 The bare fiberglass wing fresh out of the crate
Installation Process
The installation took around 16 hours total. That's with me having worked with fiberglass once and taking my time.
Sanding
It started with me dry fitting the wing using painters tape to mark where I wanted the wing to sit. Right off the bat, I noticed the wing would teeter from side to side. There's a couple of reasons why:
- The wing came imperfect. The right front side had more fiberglass tacked onto it, causing it to tip around.
- The wing is not made for the Miata! While the curves are similar to the RX-7, they are not identical.
I just sanded using 80 grit sandpaper with an orbital sander. That was around 3 hours of sanding just for fitment. You'll want it to sit flush, otherwise the higher end will bounce around on the car when it moves, causing damage to the paint. Here's a small preview of what I was dealing with:
Mounting
I mounted the wing using 4 bolts. There's no nuts, the bolt goes directly into the wing. Here was the process I followed:
- Line up the front corners of the wing using the painters tape guideline.
- Line tape on the car where you approximately think the drill holes will go.
- Lift up the wing slightly and drop liquid into a pre-made drill hole in the wing. I just used blue Loctite since that's what I had around.
- Drop the wing down onto the car and press down. The liquid should leave a dot on the tape.
- Drill on the marked dot. See if a bolt dry fits through the hole and wing.
- Repeat steps 1 through 5 for each bolt hole.
- Finally, use the bolts to secure the wing onto the car.
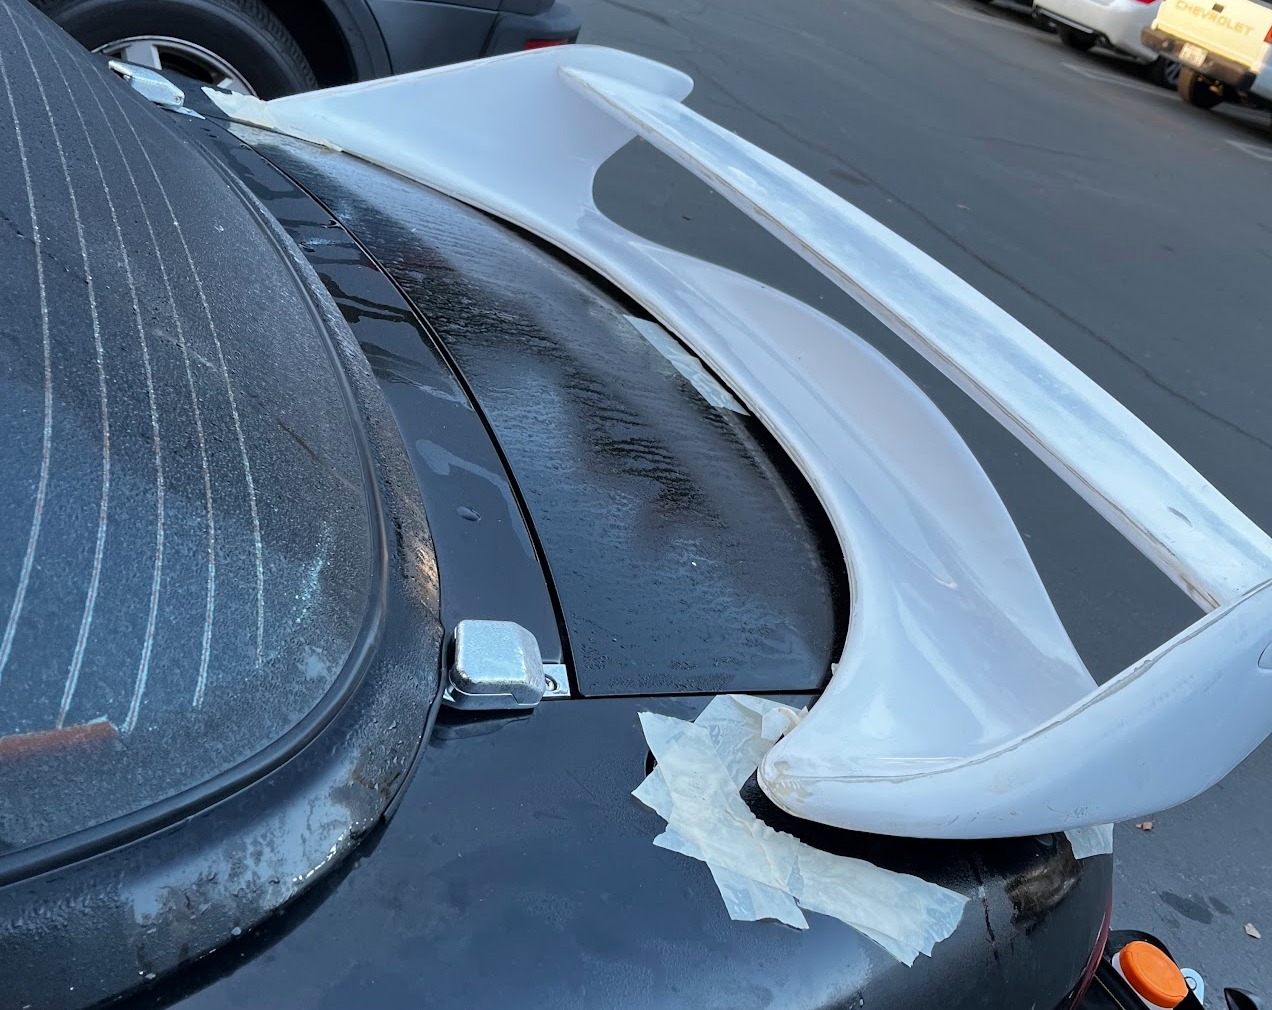 Example of how I lined up tape for mounting
You can also mount the wing using auto 3M tape. I contacted Marc, the owner of Carbon Miata, and he stated:
So I installed it with 3M but you could also drill it and use screws! For me the 3M was enough but I do not track the car! 😉
Painting
After sanding and preparing the drill holes, I had to prepare for the paint process. I used higher grit sandpaper to smooth out the rough edges and applied some gelcoat so it gets a nice smooth finish. After it was prepped, I took the Miata for a fresh paint job with the wing.
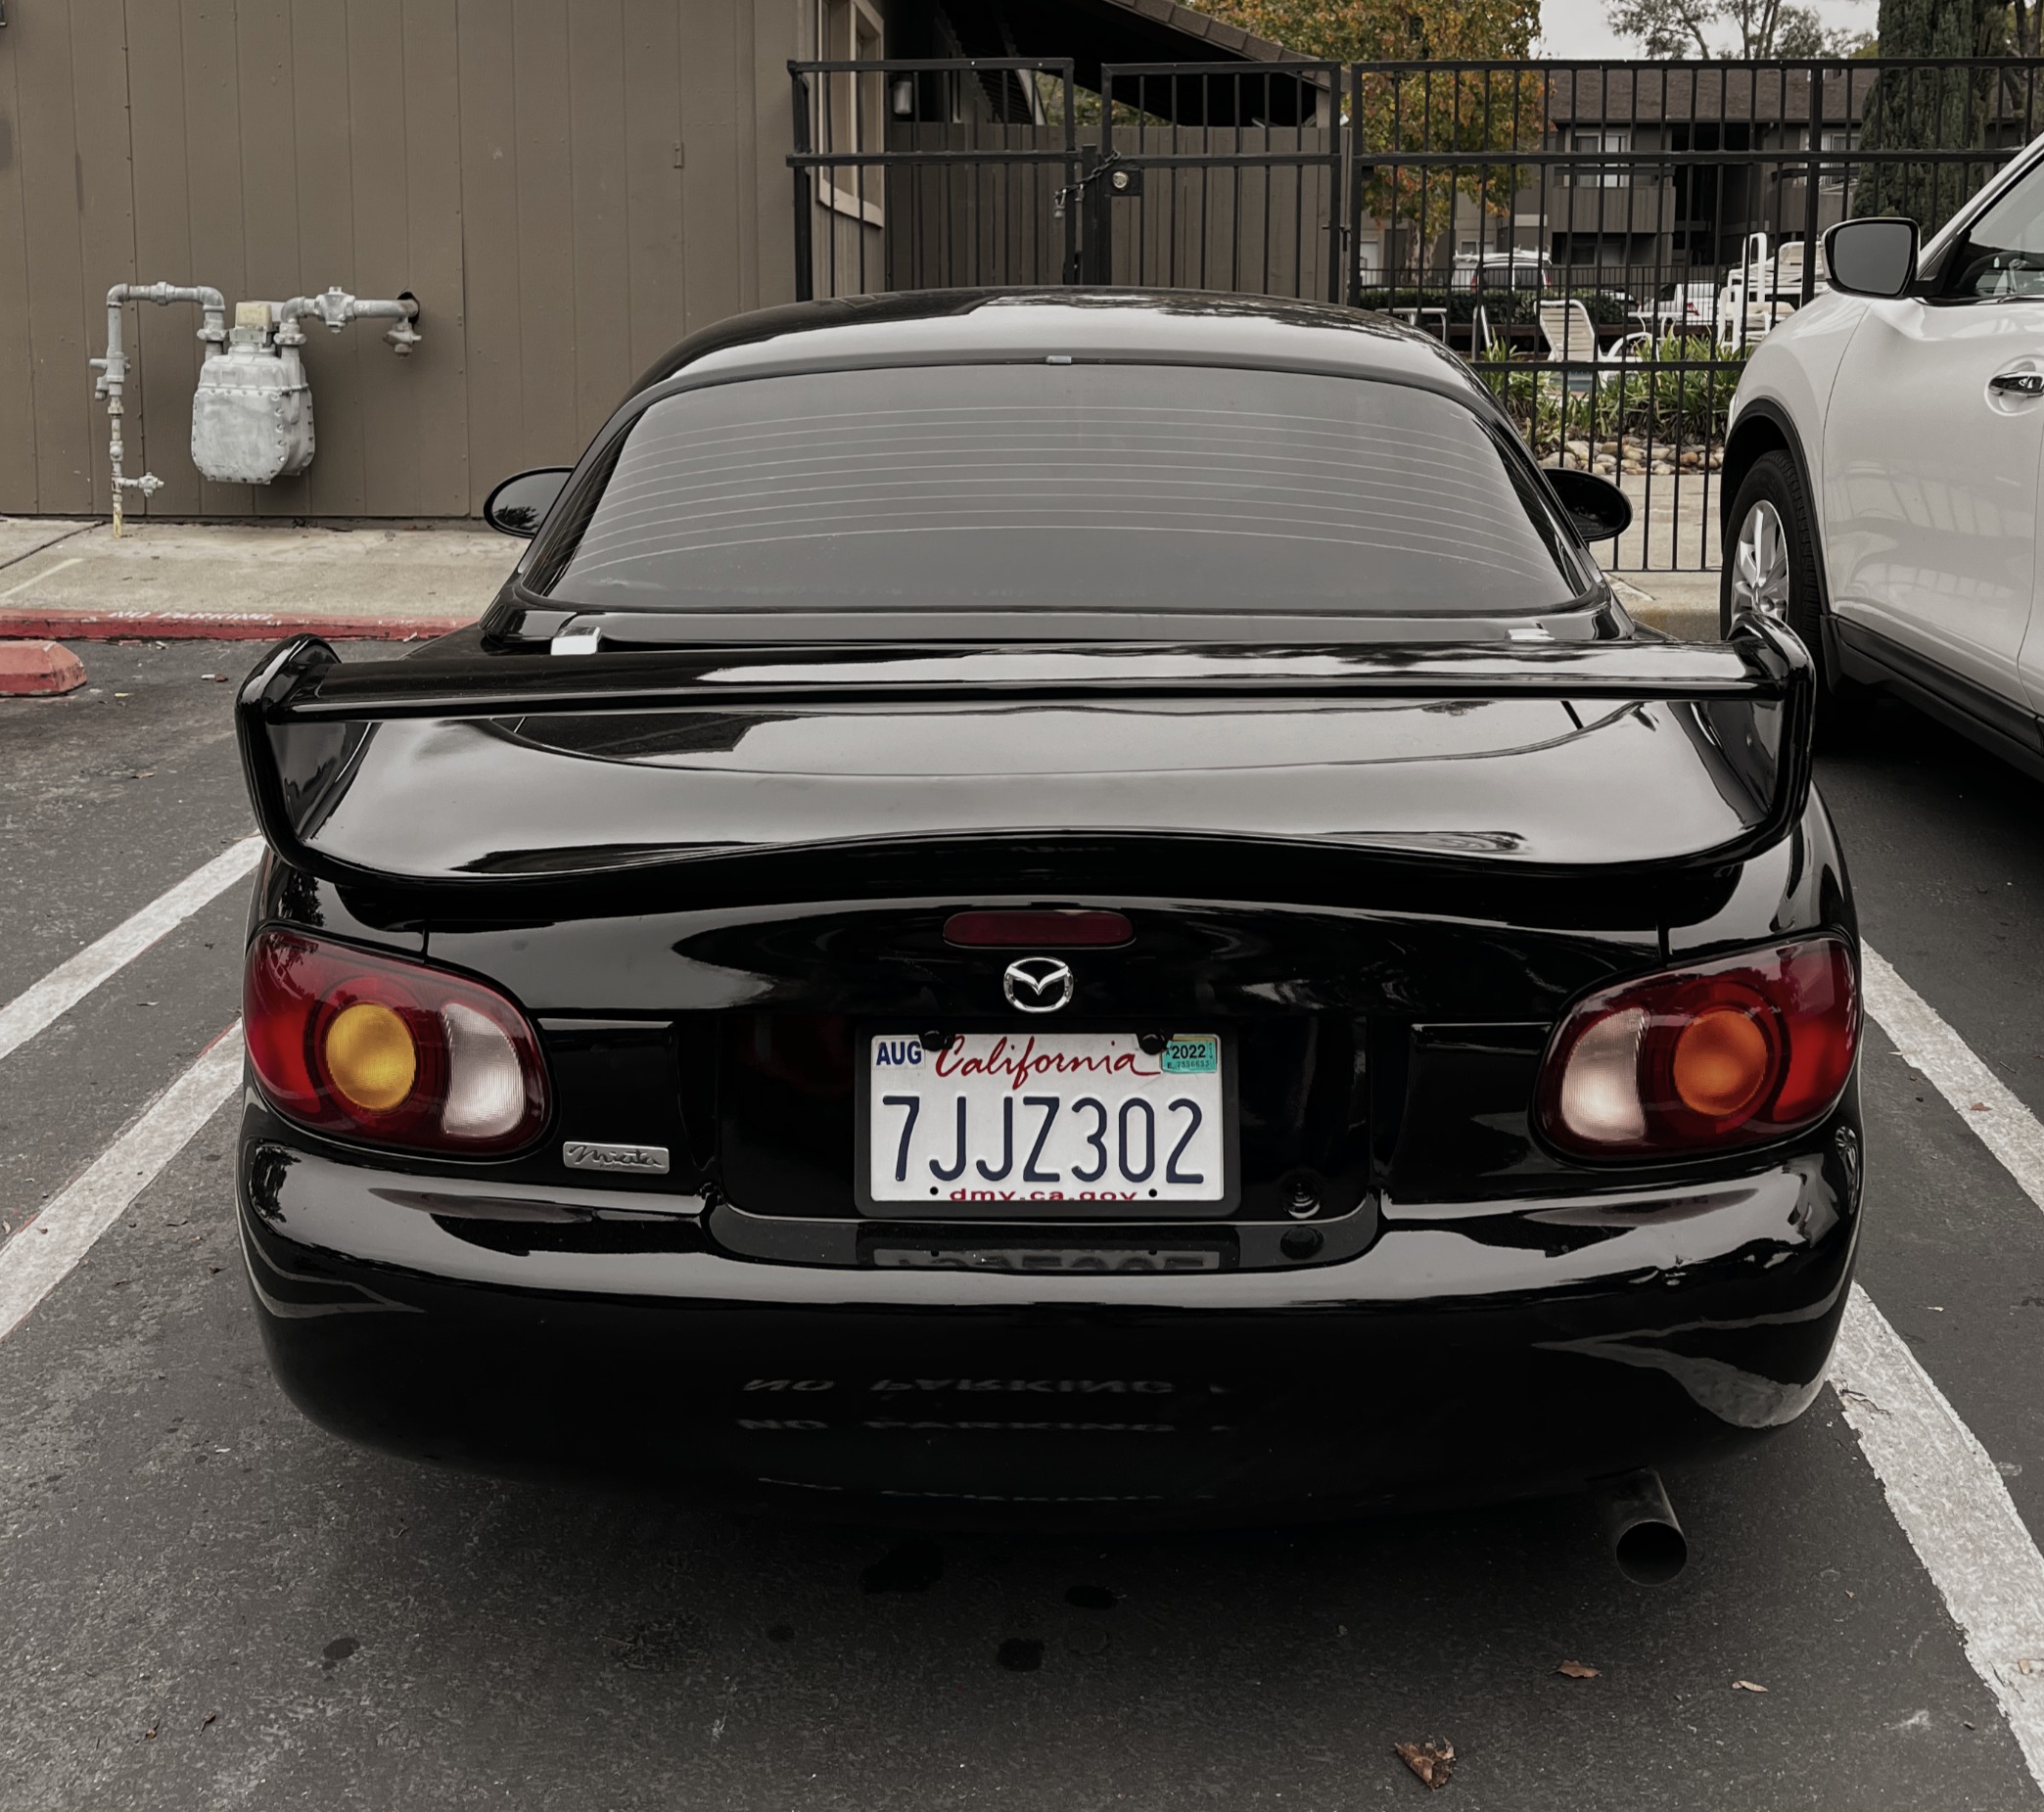 Fresh out of the shop painted
Aftermath (A Year Later)
The wing installation turned out great! It's held up at high speeds, and people can't help but stare at this unique looking Miata. However, I learned a couple of lessons:
- You get what you pay for when it comes to paint jobs. Lots of orange peel from the Maaco job 😬
- Be sure to water seal the bolt holes to prevent water from seeping into the trunk.
Hopefully this blog post helped you the same way it helped me.